- 29 December, 2022
- Kristen Haas Curtis
- in Exercises
“Magpie memoir” exercise
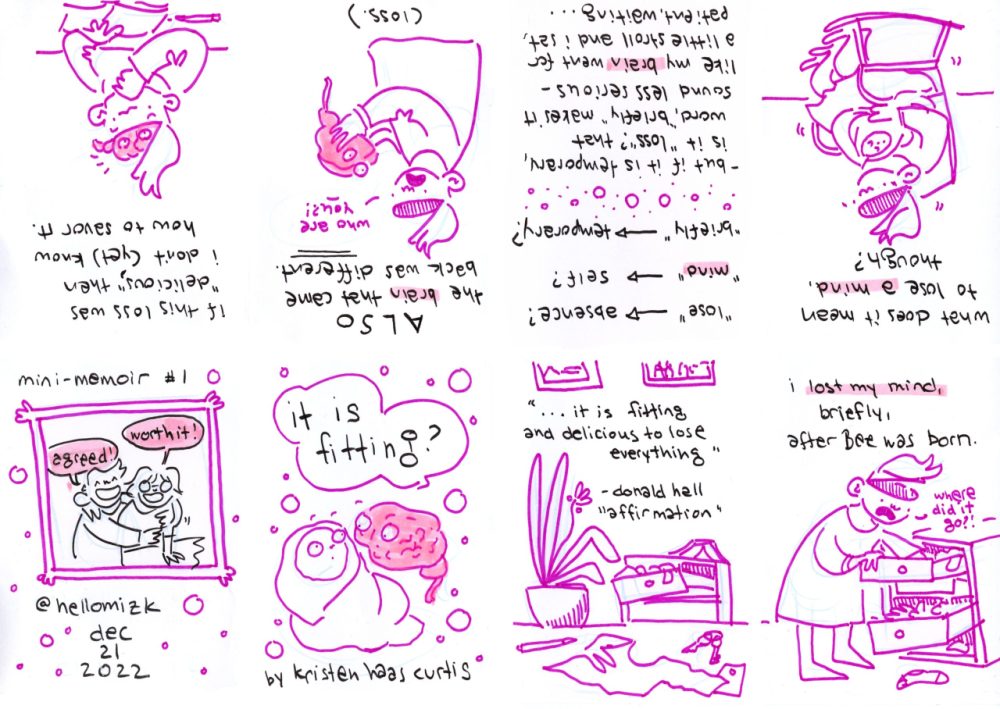
This post shares an exercise you can try to make a “mini-memoir” comic of your own. When I’m feeling blocked or like I haven’t had space for creative work and it’s getting me down, I find making little books like these very satisfying. I hope you give it a try!
I came up with this exercise yesterday morning during my cafe work time – usually my most valuable and productive time of the day. As the year comes to an end, I’m feeling very burned out and “one note” right now and I needed to do something creative but I also needed that “something creative” to require a minimum of mental energy. It was with these parameters in mind that I created the following exercise. I’m hoping creating and sharing exercises like these will become a regular feature here!
There are two outcomes to working through this exercise: one immediate and one potentially longer-term.
Immediate: A comic! These instructions will guide you through making a single page “foldie” book. Personally I love the foldie book. You can find instructions on how to fold it here. If this isn’t quite your style, you can use the instructions, with a few minor modifications, to draw a single page comic as well.
And in the longterm? I’ve created this exercise hoping that through freewriting and experimentation, it will help you to collect material you might return to in a future, longer autobiographical work.
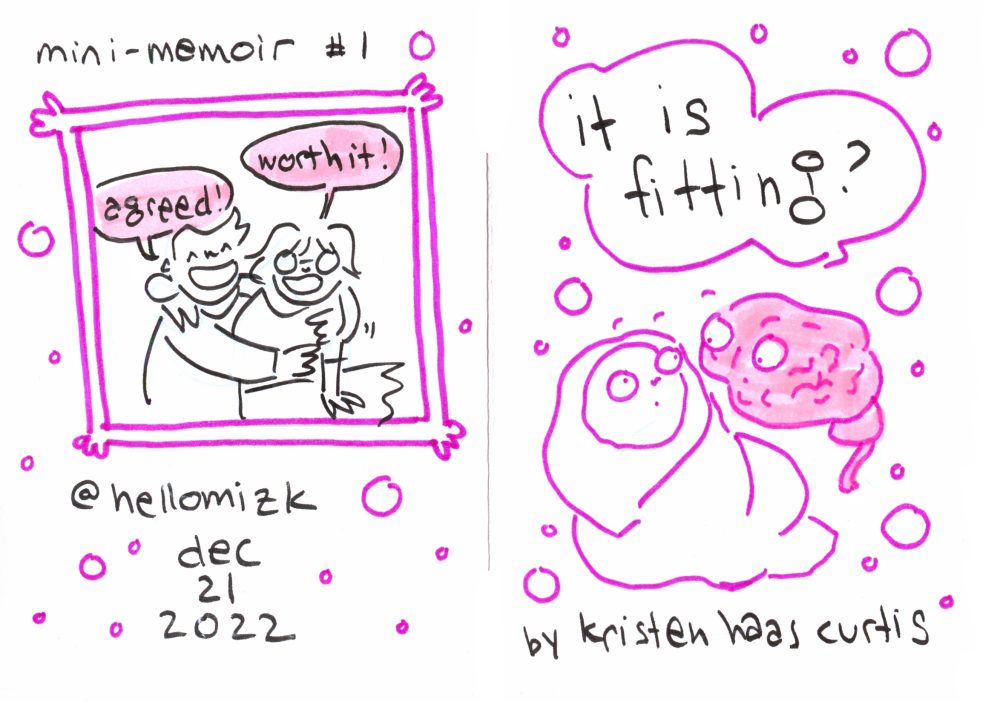
All images in this post are taken from the completed comic. Note that for the first six steps, you are just figuring things out and you don’t start drawing/writing the final version until step seven!
Supplies:
- two sheets of plain white paper
- a pen
- scissors
- an eye-catching quote (poetry or prose)
- about 90 minutes of time
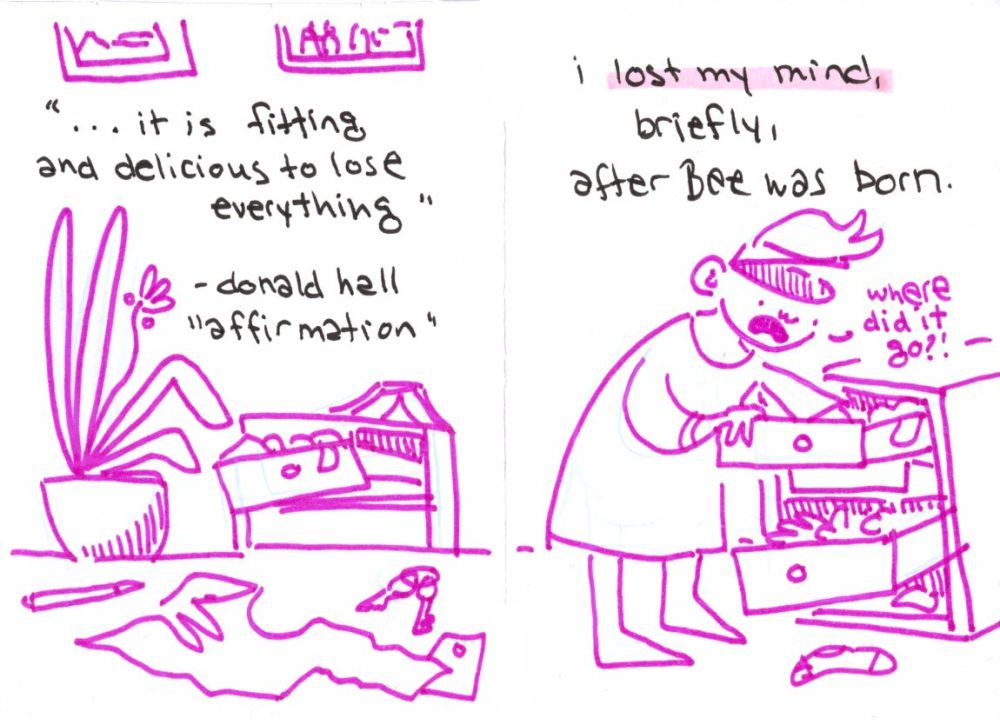
Step 1: Choose a quote
I’m calling this a “magpie memoir” because it starts with finding something shiny that you like and using that as a starting point. This is a technique I often return to when I feel blocked or uninspired.
Maybe you already have a couple lines of poetry in mind. Maybe there’s an opening line from a book or short story that just sticks with you. If so, start from there and move on to Step 2. If not? You have a few options. I love www.poetryfoundation.org ‘s “Poem of the Day” as a starting point.
You might also pull a book you’ve loved off your shelf at random and spend a few minutes browsing it. Browsing is key here! You’re not going in-depth in your reading, you’re just looking for a short phrase or a couple lines to get curious about.
(Song lyrics work if you want to try a more “pop culture” version!)
This quote will be your page 1/panel 1.
Step 2: Mull, think, consider.
Write your quote or phrase at the top of one sheet of paper – this will be your note-paper. Set a timer for ten minutes and free-write about anything that comes to mind with your quote. At this point there are no good ideas or bad ideas, there are only ideas. Fragments. Lists. If you are stuck, start a sentence with “I remember…” or “When I was a child…” and use your chosen quote as a jumping off point. Fill as much of the page as you can. Does a specific word in your quote “click” with you? Write about that. Do you love your quote? Write about that? Does it make you angry? Write about that! We’re looking for memories, emotions, and connections here — the more the better. When the timer goes off, reread what you wrote and mark 1-3 ideas that you feel strongest about.
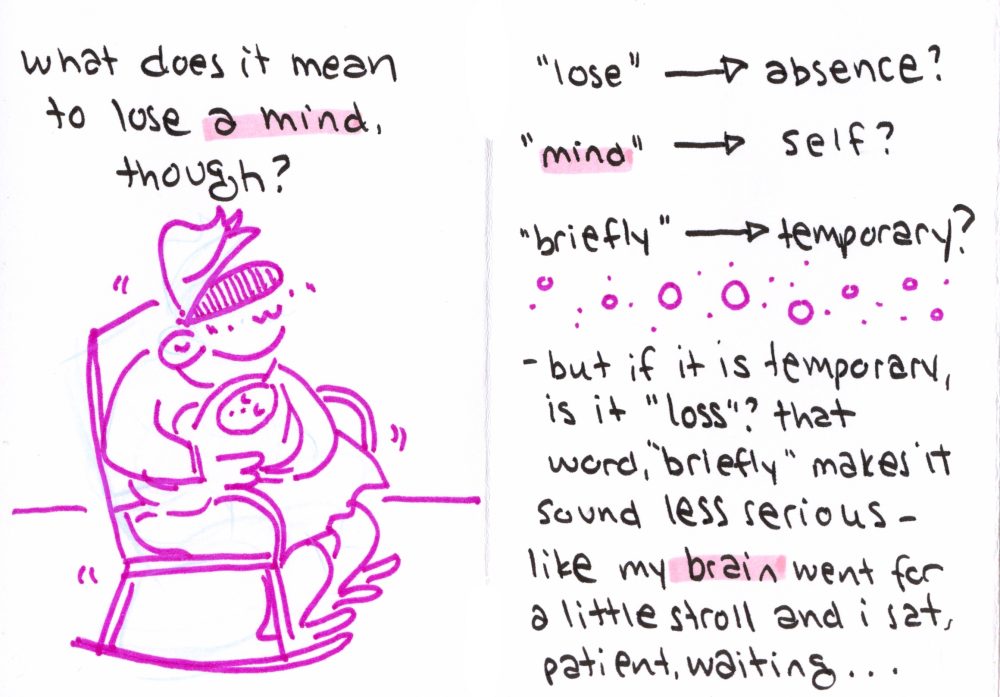
Select one idea: this will be your page 2/panel 2.
Step 3: Question time
On the back of your note paper, write down your one idea you selected at the end of Step 2. Take no more than five minutes and jot down a series of questions related to that one idea, using the “who, what, where, when, why, how” questions. Keep your questions fairly short if possible! Once you have listed a few (3-6) questions, read back over your Step 1 quote and your Step 2 idea and select a single question that ties to two together or continues the ‘shape’ of them.
This question will be your page 3/panel 3.
Step 4: Dig dig dig.
Apply your Step 3 question back to your idea: can you say something more about it? Dig in a little deeper? Push the idea a little further? It might move towards your quote, it might move away – both work just fine! Take a couple minutes and freewrite a few lines in response to your question. Reread what you’ve written and select a sentence or two. Rewrite and tighten it/them up.
This sentence/these sentences will be your page 4/panel 4. Almost done!
Step 5: Then what happened?
So you’ve dug a little bit deeper – can you sum up things up now? I’m sure you have more to tell, but that’s for a longer project. Right now, take a couple minutes to wrap things up a bit. Can you relate the previous sentences to a current moment or idea or incident? Can you offer your thoughts on what you might have gained or lost? This can be silly or serious; sad or punchy. Is there a moral? A lesson? A punchline? A to-do list even? Reread what you wrote and try to select a single line or phrase to wrap things up.
This wrap up will be your page 5/panel 5.
Step 6: Close the loop.
It’s time to return to your initial quote. Has your understanding of it changed? Has your emotional response? With these questions in mind, it’s time to repeat, alter, or respond to your quote to reflect this. Repeating the quote is pretty straightforward. Altering it gives you the chance to change a word or phrase or to change the word order and make it yours. Responding to the quote means you use a few words or a key phrase and turn them to the ideas and sentences you have collected so far.
Note down your repeated or altered quote or your response. This will be your page 6/panel 6. The hard part is done!
WHEW – take a short break to stretch your arms and roll your neck. Maybe refill your drink. You did it! The next part is the fun one – turning it into a comic.
Step 7: Make it a comic!
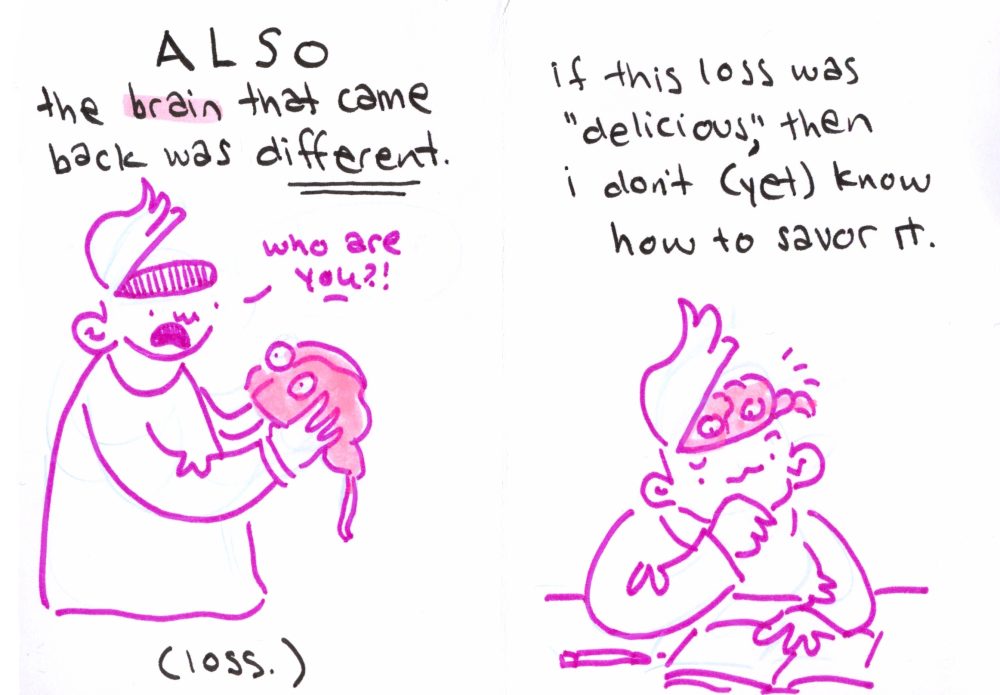
Grab your second sheet of paper and fold it into a single-page book. (See link earlier in this post if these are new to you.) Once your mini-book is folded, use a pencil to note which section is the cover, which is the back, and number the interior pages 1-6. (If you are doing this as a single-page comic, you can just mark out 6-8 panels.) Open it back out again and you are ready to get started. I like to save the cover and the back cover for drawing last. Remember the six snippets of text we came up with in our previous steps? Write each snippet, in order, on a separate page in your little book. (Six snippets = six pages) Leave yourself room to draw and doodle where you can – some pages might be text only and that’s okay. Once all your text is in place, add some drawings to illustrate the text. Drawings might be of yourself or of someone else, they might be objects, they might be landscapes. They might even be abstract colors or designs – remember, the goal is to communicate. Once all the inner pages are done, it’s time to go back to your cover. Is there a 1-3 word phrase that stuck out to you? Make this your title and write it across the top or in the center of your cover page – make it big! Write your name at the bottom. Add a few little drawings or illustrations to tie the cover into the contents of the inner pages. For the back cover you can write a short blurb, draw your own “author photo,” write a closing remark or just give your contact info. I use a “framed” author picture and my contact info along with the date on the backs of most of mine. From this point you can consider it done, or you can add color or collage or anything else you want. The final step is to make a copy/copies and share them if you would like! And you’ve done it – you’ve made a mini-memoir of your own!
If you make a “magpie memoir” of your own, I would love to see it – feel free to tag me @hellomizk on Twitter and Instagram. Happy folding!